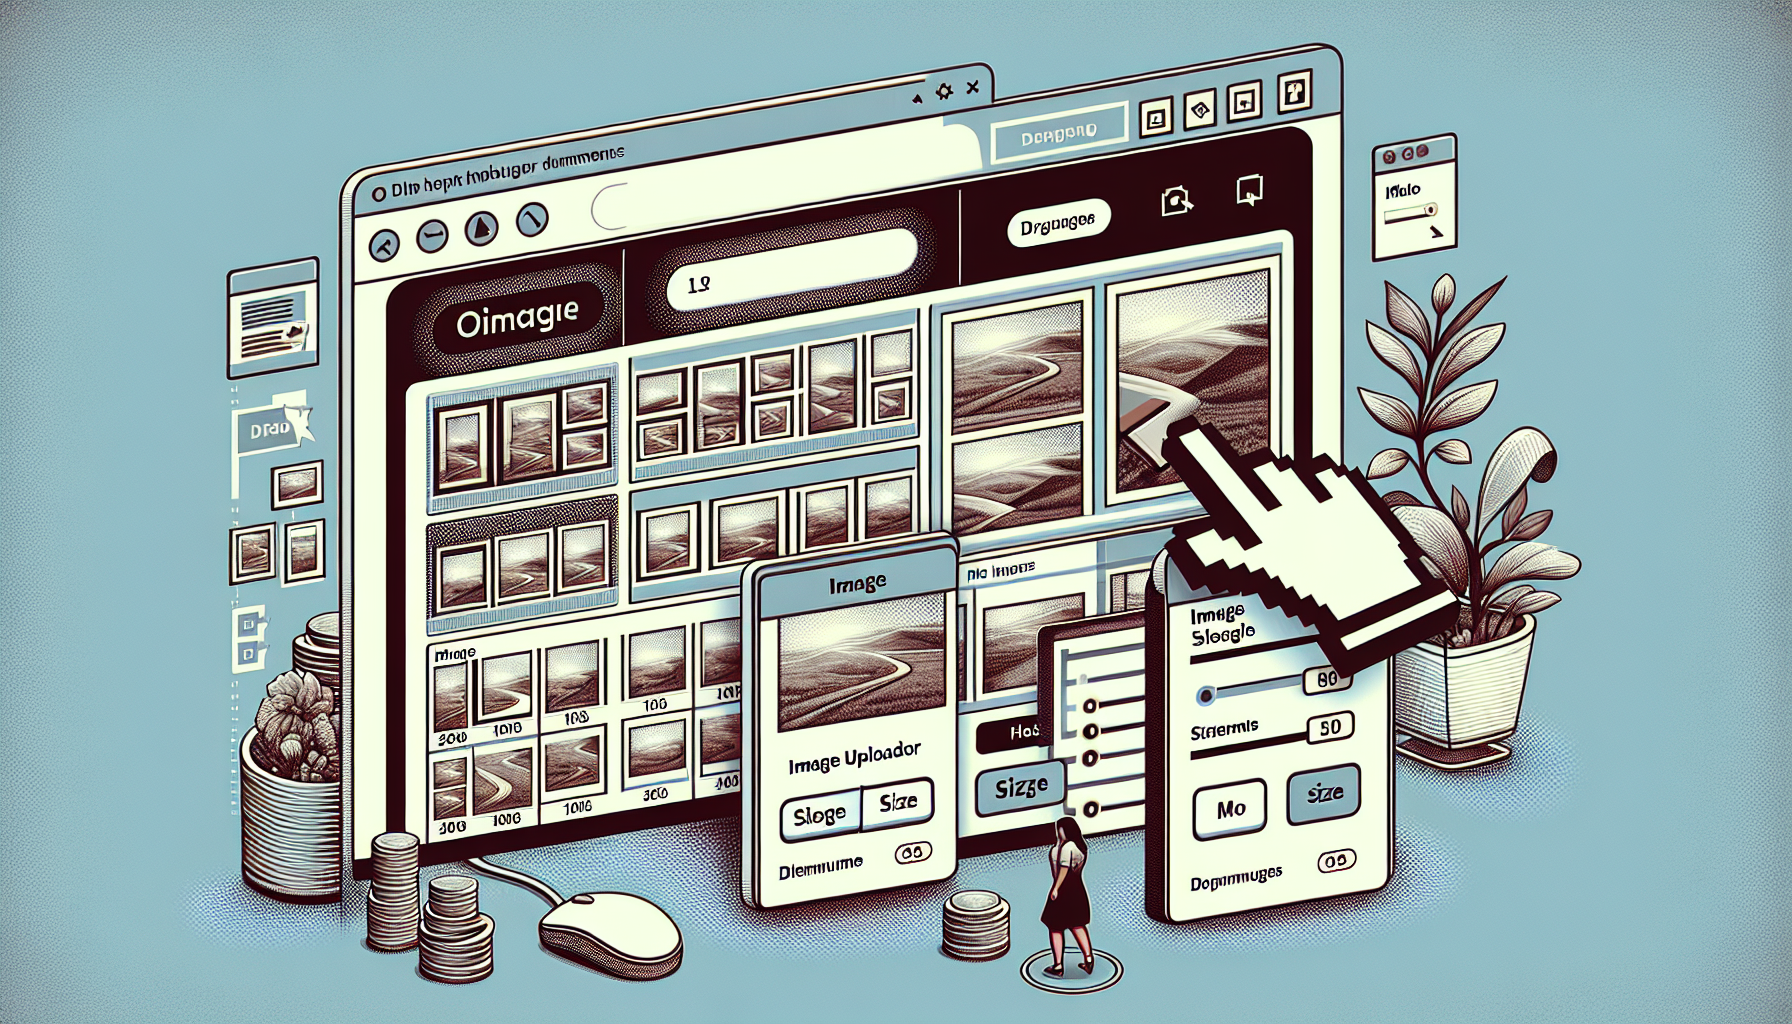
Adding an Image Size Selector to WordPress Media Uploader
Understanding Image Sizes in WordPress
Working with images in WordPress might seem straightforward until you encounter the need for different image sizes.
Imagine preparing your website’s content with visual elements tailor-fitted to different layouts and devices.
Why is an Image Size Selector Important?
Selecting the right image size is crucial for website performance and user experience.
Larger images can slow down your page load times, while smaller ones might look blurry when scaled up.
WordPress Default Image Sizes Explained
WordPress automatically creates several sizes of each image you upload in the Media Library.
These usually include thumbnail, medium, large, and full-size options.
Adding a Custom Image Size
You can introduce additional image sizes to WordPress with a bit of code.
For instance, add the following code to your theme’s functions.php file:
add_image_size( 'custom-size', 800, 600, true );
Understanding the Code for Custom Sizes
The add_image_size function registers a new image size in WordPress.
The parameters define width, height, and whether to crop the image.
Modifying the Media Uploader with a Size Selector
To enhance the media uploader, we’ll need to dive into WordPress hooks and filters.
This customization allows users to select our custom sizes when adding images to posts.
Adding the Selector to the Media Uploader
We can add our custom size to the media uploader using the image_size_names_choose filter.
This requires modifying the theme’s functions.php file or creating a custom plugin.
Creating a User-Friendly Selector
To make image size selection intuitive, we’ll label our custom sizes descriptively.
This way, users can easily choose the appropriate size without guesswork.
Implementing the Image Size Selector
Once we’ve registered our custom sizes, we can append them to the selector like so:
function my_custom_image_sizes( $sizes ) {

    return array_merge( $sizes, array(

        'custom-size' => __('Custom Size'),

    ) );

}

add_filter( 'image_size_names_choose', 'my_custom_image_sizes' );
Ensuring Responsive Images
For a seamless experience, ensure your custom image sizes are responsive.
Use proper CSS media queries to cater to different screen sizes and orientations.
FAQ: Understanding and Customizing WordPress Media Uploader
How do I add a custom image size to WordPress?
Add the add_image_size( 'name', width, height, crop ) function to your theme’s functions.php file.
How can I make my custom sizes appear in the Media Uploader?
Use the image_size_names_choose filter to add custom sizes to the media uploader drop-down.
Why aren’t my custom sizes showing up in the media uploader?
Ensure you’ve regenerated thumbnails for all existing images after introducing new sizes.
Can I remove the default image sizes in WordPress?
Yes, you can unset default sizes through the intermediate_image_sizes_advanced filter.
How do I ensure my images are responsive for different devices?
Use CSS media queries to define styles for different viewport widths.
TLDR; Adding an Image Size Selector to Your WordPress Media Uploader
Are you looking for a solution like this?
function customize_media_uploader() {

  add_image_size( 'custom-size', 800, 600, true );

  add_filter( 'image_size_names_choose', 'custom_image_selector' );

}

function custom_image_selector( $sizes ) {

  return array_merge( $sizes, array( 'custom-size' => __( 'Custom Size' ) ) );

}

add_action( 'after_setup_theme', 'customize_media_uploader' );
You’ve just created a custom image size and made it selectable right from the WordPress media uploader interface!
Breakdown and Explanation
The function customize_media_uploader is what kicks things off.
It registers a new image size and adds a filter to display this size in the media uploader.
The custom_image_selector function then appends the custom size to the list of selectable sizes.
The add_action with 'after_setup_theme' ensures that this happens right after the theme setup, which is crucial for the changes to take effect.
Comprehensive Steps and Examples
So you want to implement this on your site? Here’s a step-by-step guide:
1. Determine the dimensions for your custom image size.
2. Add the add_image_size code snippet with your chosen dimensions to your functions.php file.
3. Utilize the image_size_names_choose filter to add your custom size to the WordPress Media Uploader.
4. Ensure you’ve added the add_action code block to apply these changes.
5. Regenerate thumbnails using a plugin like ‘Regenerate Thumbnails’ for existing images to have the new size created.
And there you have it!
You’re now equipped to add and select custom image sizes directly in your WordPress media library, providing a more versatile and optimized content management experience.
This is an example of applying technical changes to the WordPress Media Uploader interface.
Remember to check your website’s functionality on various devices to ensure the new sizes are being applied correctly and that images are responsive.
By now, you should have a solid understanding of custom image sizes in WordPress, from why they’re important to how you can add them to the media uploader.
Optimizing Media Management in WordPress
Effective management of media files in WordPress is essential for maintaining a fast and enjoyable user experience.
By adding a custom image size selector, you directly address the need to optimize visuals for varying contexts.
Understanding WordPress Hooks and Filters for Media
WordPress hooks and filters play a crucial role in extending the functionality of your website.
They allow for the injection of custom code at specific points within the WordPress core.
Detailing the Image Size Selection Process
Integrating a new image size involves not just adding the size but also crafting the user interaction for selection.
Streamlining this process ensures that content creators can easily manage media assets.
Building a Plugin for the Size Selector
Creating a dedicated plugin for your image size selector consolidates the changes and keeps your theme clean.
Plugins provide a more robust way of handling customizations and are portable across different themes.
Plugin Development Best Practices
When developing a plugin, following WordPress best practices ensures stability and compatibility.
Adhering to coding standards and properly enqueuing scripts and styles are part of these best practices.
Exporting Custom Image Sizes Across Themes
If you switch themes often, you’ll want to ensure that your custom image sizes are preserved.
A well-crafted plugin will allow these customizations to carry over seamlessly.
Advanced Customization of the Media Uploader
Beyond adding a size selector, there are additional ways to tailor the media uploader experience.
These can include sorting options, default size pre-selections, or integration with third-party services.
Securing Your Customizations
Security is paramount when extending WordPress functionality.
Sanitize inputs, validate data, and regularly update your code to protect against vulnerabilities.
Compatibility with Page Builders and Gutenberg
Many WordPress sites use page builders or the new Gutenberg editor, both of which handle media differently.
Ensure your customization works flawlessly with these editors for a smooth user experience.
Performance Considerations
Adding custom image sizes can affect website performance.
Monitor site speed and optimize accordingly to maintain a balance between functionality and efficiency.
Understanding WordPress Media Uploader Limits
The WordPress media uploader is governed by settings and limitations that can affect your custom size selector.
Knowing these can help you make informed decisions when implementing your solution.
Improving Accessibility with Custom Sizes
With custom image sizes, you also have the opportunity to enhance accessibility.
Properly labeled sizes and context-specific images can assist users with varying needs.
Localizing the Media Uploader for Global Audiences
If your website caters to an international audience, localizing the media uploader becomes important.
Translating size labels and providing culturally relevant interfaces can greatly improve user engagement.
FAQ: Advanced Usage and Troubleshooting
Is it possible to add conditional logic for custom image sizes?
You can employ conditional logic to present size options based on the context, such as the post type or category.
What if my Media Uploader customizations aren’t reflected on the front end?
Ensure that your theme or page builder is calling the correct image size and that you’ve cleared any caches.
Can creating too many custom image sizes impact my server storage space?
Yes, every additional image size creates more files on your server, so it’s wise to only create sizes you’ll use.
Are there any plugins that can help me manage custom image sizes more efficiently?
Plugins like ‘Simple Image Sizes’ or ‘Force Regenerate Thumbnails’ offer user-friendly interfaces for managing image sizes.
How do I debug issues with image sizes after a WordPress update?
Check for plugin and theme conflicts, outdated code, and see if the update modified any related core functions.
Exploring Advanced Filter Usage in Themes and Plugins
Delving deeper, let’s explore how to leverage WordPress filters to refine and customize image size selection even further.
Using filters like intermediate_image_sizes, you can modify the list of image sizes that WordPress generates.
Real-World Examples for Custom Image Sizes
Let’s say you’re operating an e-commerce site requiring product images to fit certain dimensions.
Your custom size selector becomes invaluable, ensuring consistency and visual appeal across your product pages.
TLDR; Taking Media Uploader Customization Further
Want to see how more complex configurations look in code?
function advanced_media_uploader_customization() {

  if ( certain_condition() ) {

    add_image_size( 'product-size', 300, 300, true );

    add_filter( 'image_size_names_choose', 'product_image_selector' );

  }

}

function product_image_selector( $sizes ) {

  return array_merge( $sizes, array( 'product-size' => __( 'Product Size' ) ) );

}

add_action( 'after_setup_theme', 'advanced_media_uploader_customization' );
This snippet shows how to set up custom sizes based on specified conditions, enhancing your site’s media handling.
Navigating the Complete Solution
By now, you should have a robust grasp of the various aspects of adding and customizing image sizes and the media uploader in WordPress.
From conceptual understanding to practical implementation, we’ve covered the essentials to empower you in enhancing your site’s media functionality.
Final Thoughts on Media Uploader Customization
Adding an image size selector to the WordPress media uploader is both a matter of enhancing user experience and optimizing content delivery.
The code snippets and examples provided should set you on the right path towards implementing this useful feature on your own site.
Shop more on Amazon